USE
CODE
FREESHIP
ON
ORDERS
$55+
Welcome back!
Please sign into your account
Forgot password?
Don't have an account? Sign Up
← Back to blog

Creating Educational Flashcards For Your Kids With Printable Labels

Posted by Sheetlabels.com on 1/20/2015
Creating Educational Flashcards 
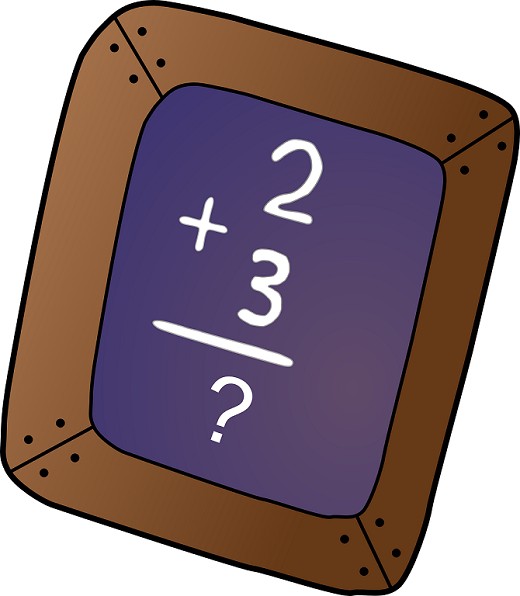
We have not done a post about fun arts and crafts in a few weeks, and since we love those types of posts, we are overdue. Today we are talking about a fun craft that is also a great way to help your kids with their education. This is a nice and simple craft that is prefect to do with your pre-K aged children. Creating your own flashcards at home with blank labels is very easy to do, and you can personalize them to make them more enticing for your kids to use. Having flashcards that have your kids’ favorite characters on them will make learning much more fun for them, especially for younger pre-K children.

Supplies

All you need to create these fun flash cards is some blank labels, a sheet of old cardboard, a black sharpie (or your childs favorite color), scissors, and your inkjet/laser printer. Any size label will work, but we recommend a size like these 3.75" X 2.25" labels (template on top right of page). The first step is deciding on the type of children’s art that you want to use on the flash cards. Once the art is decided on you need to download the images to your computer so you can place the artwork on the label template before printing. When using a provided template for a particular label size you can copy and paste the images right into the template. You may have to resize the images beforehand though. When you place the image on the template, remember to leave some white space underneath the image, or on one of the sides of the image so there is room to write out the math equation or spelling word. In this step you can actually add the equations or words onto the template with the artwork if you prefer, we find it easier to just write that on after with a sharpie. For any label purchased from SheetLabels.com you can find the template files on the top right of the page, they are available there in many different formats depending on which program that you use.

The Flashcards

Once your blank labels are done being printed out, it is time to adhere them to the cardboard to give them some weight. The easiest way to do this is to keep the cardboard as a sheet while you add all of the labels to it. Make sure that you leave some space between each label when sticking them to the cardboard, this will make it easier to cut them out and trim them later. After you have all of the labels applied to the cardboard you need to start cutting them out. Try to cut around each label so they are flush with the cardboard after cut. As you cut each label out just set them to the side since there is still more to do. If you did not put the equations on the template before printing, you can do that now with your sharpie. In order to make it easier to help your child with their studies, you can also put the answer to each question on the back side of the cardboard. This will make it so you can quiz them without having to flip the card each time to make sure they were right.

Need help? We’re here!

Our expert customer service team is ready to help you with any questions or concerns you may have. Real time help is available Monday through Friday 9AM - 6PM EST
Contact